Frametile
How do you resize and crop an image by URL?
Add a width, a height and a crop mode to the image's URL. w_600,h_400,c_fill returns a 600 by 400 image that fills the box and trims the overflow. c_fit keeps the whole picture inside the box. c_pad keeps the whole picture and fills the gaps with a colour. Your original file is never touched; each URL produces a new image.
That is the whole idea. The rest of this guide shows what each crop mode does to the same photo, how to choose the part of the photo that survives a crop, and the mistakes we see most often when people wire this into a site.
What does an image transformation URL look like?
A Frametile delivery URL has four parts: your API key, the folder, the transformations and the image name. The transformations sit just before the image name.
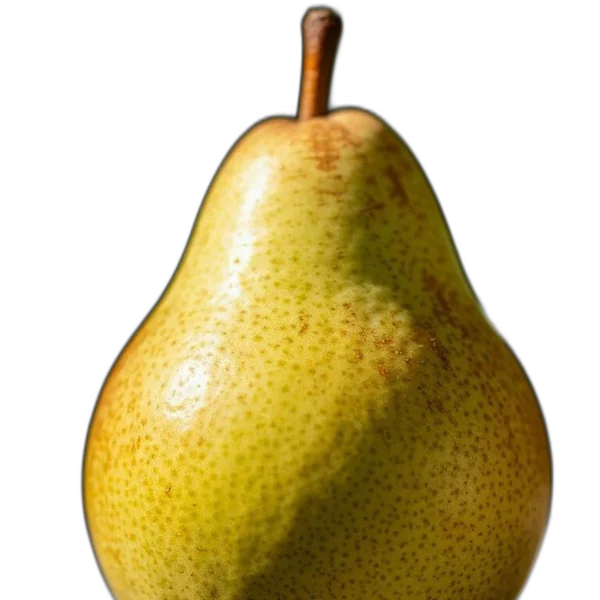
https://frametile.com/api/YOUR_API_KEY/images/fruit/pear
https://frametile.com/api/YOUR_API_KEY/images/fruit/pear/w_600,h_400,c_fill- Each parameter is a short name, an underscore and a value:
w_600. - Parameters in one step are separated by commas:
w_600,h_400,c_fill. - Steps are separated by
/and run left to right, sow_600,h_400,c_fill/e_sepiacrops first and tints second.
Because the result is cached by its full URL, the first request generates the image and later requests are served from storage. Change any character and you get a new image. The URL syntax section of the docs has the full rules.
What do fill, fit, pad, scale, crop and thumb do?
All six images below come from the same photo and the same 300 by 300 box. Only the crop mode changes.
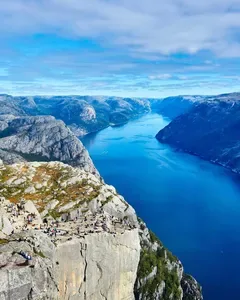
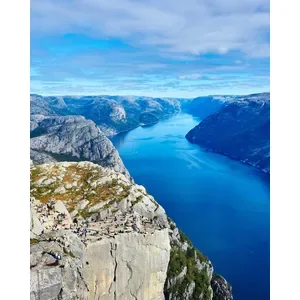
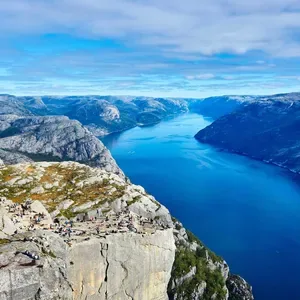
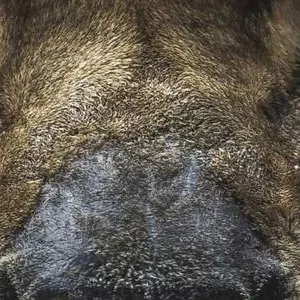
| Mode | What happens | Keeps the whole photo? |
|---|---|---|
c_fit |
Shrinks the photo until it fits inside the box. One side can come out smaller than you asked for. This is the default. | Yes |
c_fill |
Resizes until the box is covered, then trims what spills over. You always get the exact size. | No |
c_pad |
Fits the photo inside the box, then pads the empty space with the colour in b_. Exact size, nothing trimmed. |
Yes |
c_scale |
Stretches to the exact width and height. The photo is distorted if the ratios differ. | Yes, distorted |
c_crop |
Cuts a region of that size out of the original, with no resizing. | No |
c_thumb |
Cuts a region, then resizes it to the box. z_ zooms in. |
No |
There are also three safe variants: c_limit works like fit but never enlarges a small photo, and c_lfill and c_lpad return a small photo unchanged instead of blowing it up.
Which crop mode should you use?
Ask one question first: does the layout need an exact size, or does the photo need to stay whole?
| You are building | Use | Why |
|---|---|---|
A product grid or card list |
c_fill | Every tile is the same size, so the grid never jumps. Trimming the edges is fine for most photos. |
Product photos that must show the whole item |
c_pad,b_white | Exact size for the grid, nothing cut off. Match <code>b_</code> to your page background. |
A lightbox or full-size viewer |
c_limit | Shrinks large uploads to a sensible size but never upscales a small one into a blurry mess. |
Avatars |
c_thumb with g_ | A tight square around the important part of the photo. |
A banner with a fixed height |
c_fill with g_ | Exact height, and gravity keeps the subject in frame. |
Almost anything else |
Not c_scale | Stretching is rarely what you want. Use it only for textures or images you know have the right ratio. |
If you are not sure, start with c_fill for layout slots and c_fit or c_limit for anything a person will look at closely.
How do you control which part of the image is kept?
Use gravity, g_. It tells c_fill, c_crop and c_thumb which edge or corner to hold on to when something has to be trimmed. The default is the centre.
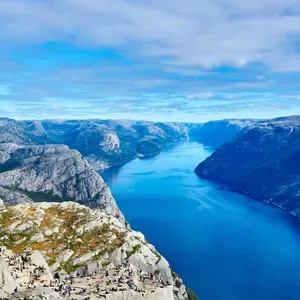
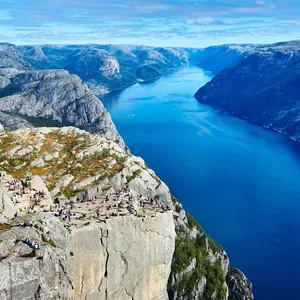
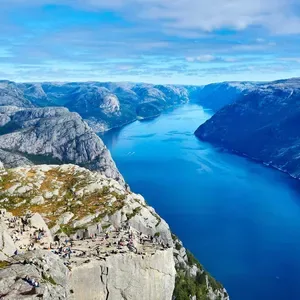
Same photo, same box. g_north keeps the sky and g_south keeps the water. The values are center, north, south, east, west and the four corners such as north_east.
g_auto and g_face, but today they behave like g_center. There is no face or subject detection, so pick the gravity yourself when the subject is off-centre.For a precise region, combine c_crop with pixel offsets: w_300,h_300,c_crop,g_north_west,x_120,y_40 cuts a 300 pixel square starting 120 pixels from the left and 40 from the top.
How do you crop to an aspect ratio, and serve retina screens?
Give one dimension and an aspect ratio, and Frametile works out the other: w_1200,ar_16:9,c_fill returns 1200 by 675. This is handy when the width comes from your layout and the shape comes from the design.
https://frametile.com/api/YOUR_API_KEY/images/fruit/pear/w_1200,ar_16:9,c_fill
https://frametile.com/api/YOUR_API_KEY/images/fruit/pear/w_400,ar_1:1,c_fill,g_northHigh-density screens need more pixels than the CSS size. dpr_2.0 doubles the width and height, so w_300,dpr_2.0 returns a 600 pixel image for a 300 pixel slot. In HTML, the usual pattern is a srcset that lists both:
<img
  src="https://frametile.com/api/YOUR_API_KEY/images/fruit/pear/w_300,h_300,c_fill"
  srcset="https://frametile.com/api/YOUR_API_KEY/images/fruit/pear/w_300,h_300,c_fill 1x,
          https://frametile.com/api/YOUR_API_KEY/images/fruit/pear/w_300,h_300,c_fill,dpr_2.0 2x"
width="300" height="300" alt="A pear">Always set width and height on the tag. The browser reserves the space before the image loads, so the page does not jump.
What are the most common resizing mistakes?
- Leaving out the crop mode. The default is
c_fit, sow_300,h_300on a landscape photo returns something like 300 by 200, not a square. If the slot must be square, sayc_fillorc_pad. - Upscaling small uploads. A 200 pixel logo stretched to 1200 pixels looks soft. Use
c_limit,c_lfillorc_lpadwhere uploads vary in size. - Building a new URL for every pixel width. Each distinct URL is generated and stored once. Pick a few standard widths, such as 320, 640, 960 and 1280, and reuse them so the cache does its job.
- Putting the crop after an effect. Steps run in order. Crop first, then add effects, so the effect works on fewer pixels:
w_600,h_400,c_fill/e_sepia. - Forgetting the format. Resizing is half the saving. The other half is the output format; see WebP vs AVIF vs JPEG.
To see these modes on more photos, browse the examples gallery, where every card shows the exact token that produced it.
Try it on your own images
Upload a photo, copy its URL and start editing the URL. Every parameter above works the same way.